A gluten free walnut snowball cookie is not a wheat cookie with something subtracted. It’s a butter cookie that happens to use a 1:1 blend, and the difference shows up in the dough before it ever reaches the pan. Gluten free doughs are thirstier and slower to hydrate, so the mix can feel sandy right up until it suddenly doesn’t, and the window between crumbly and pasty is tighter than most bakers expect.
Get past that and the cookie itself gives you nothing to apologize for: tender, faintly nutty, with a sugar shell that crackles under your teeth. The walnuts need to be small enough to fold in without tearing the dough, and the coating wants two passes rather than one. None of that is hard.
It’s just less forgiving than the wheat version, which is worth knowing before you start.
Butter temperature at mixing determines whether the dough holds its shape: softened butter creams with sugar and traps air for lift, but if the dough goes into the oven warm, that butter melts before the flour structure sets and the cookies spread into flat discs. Chilling the mixed dough solidifies the butter again, so the cookies only begin to melt once they are already in the oven and the flour has a chance to set around them. This recipe uses the chill step for exactly that reason.
Double Coating Makes a Sturdy Snowball
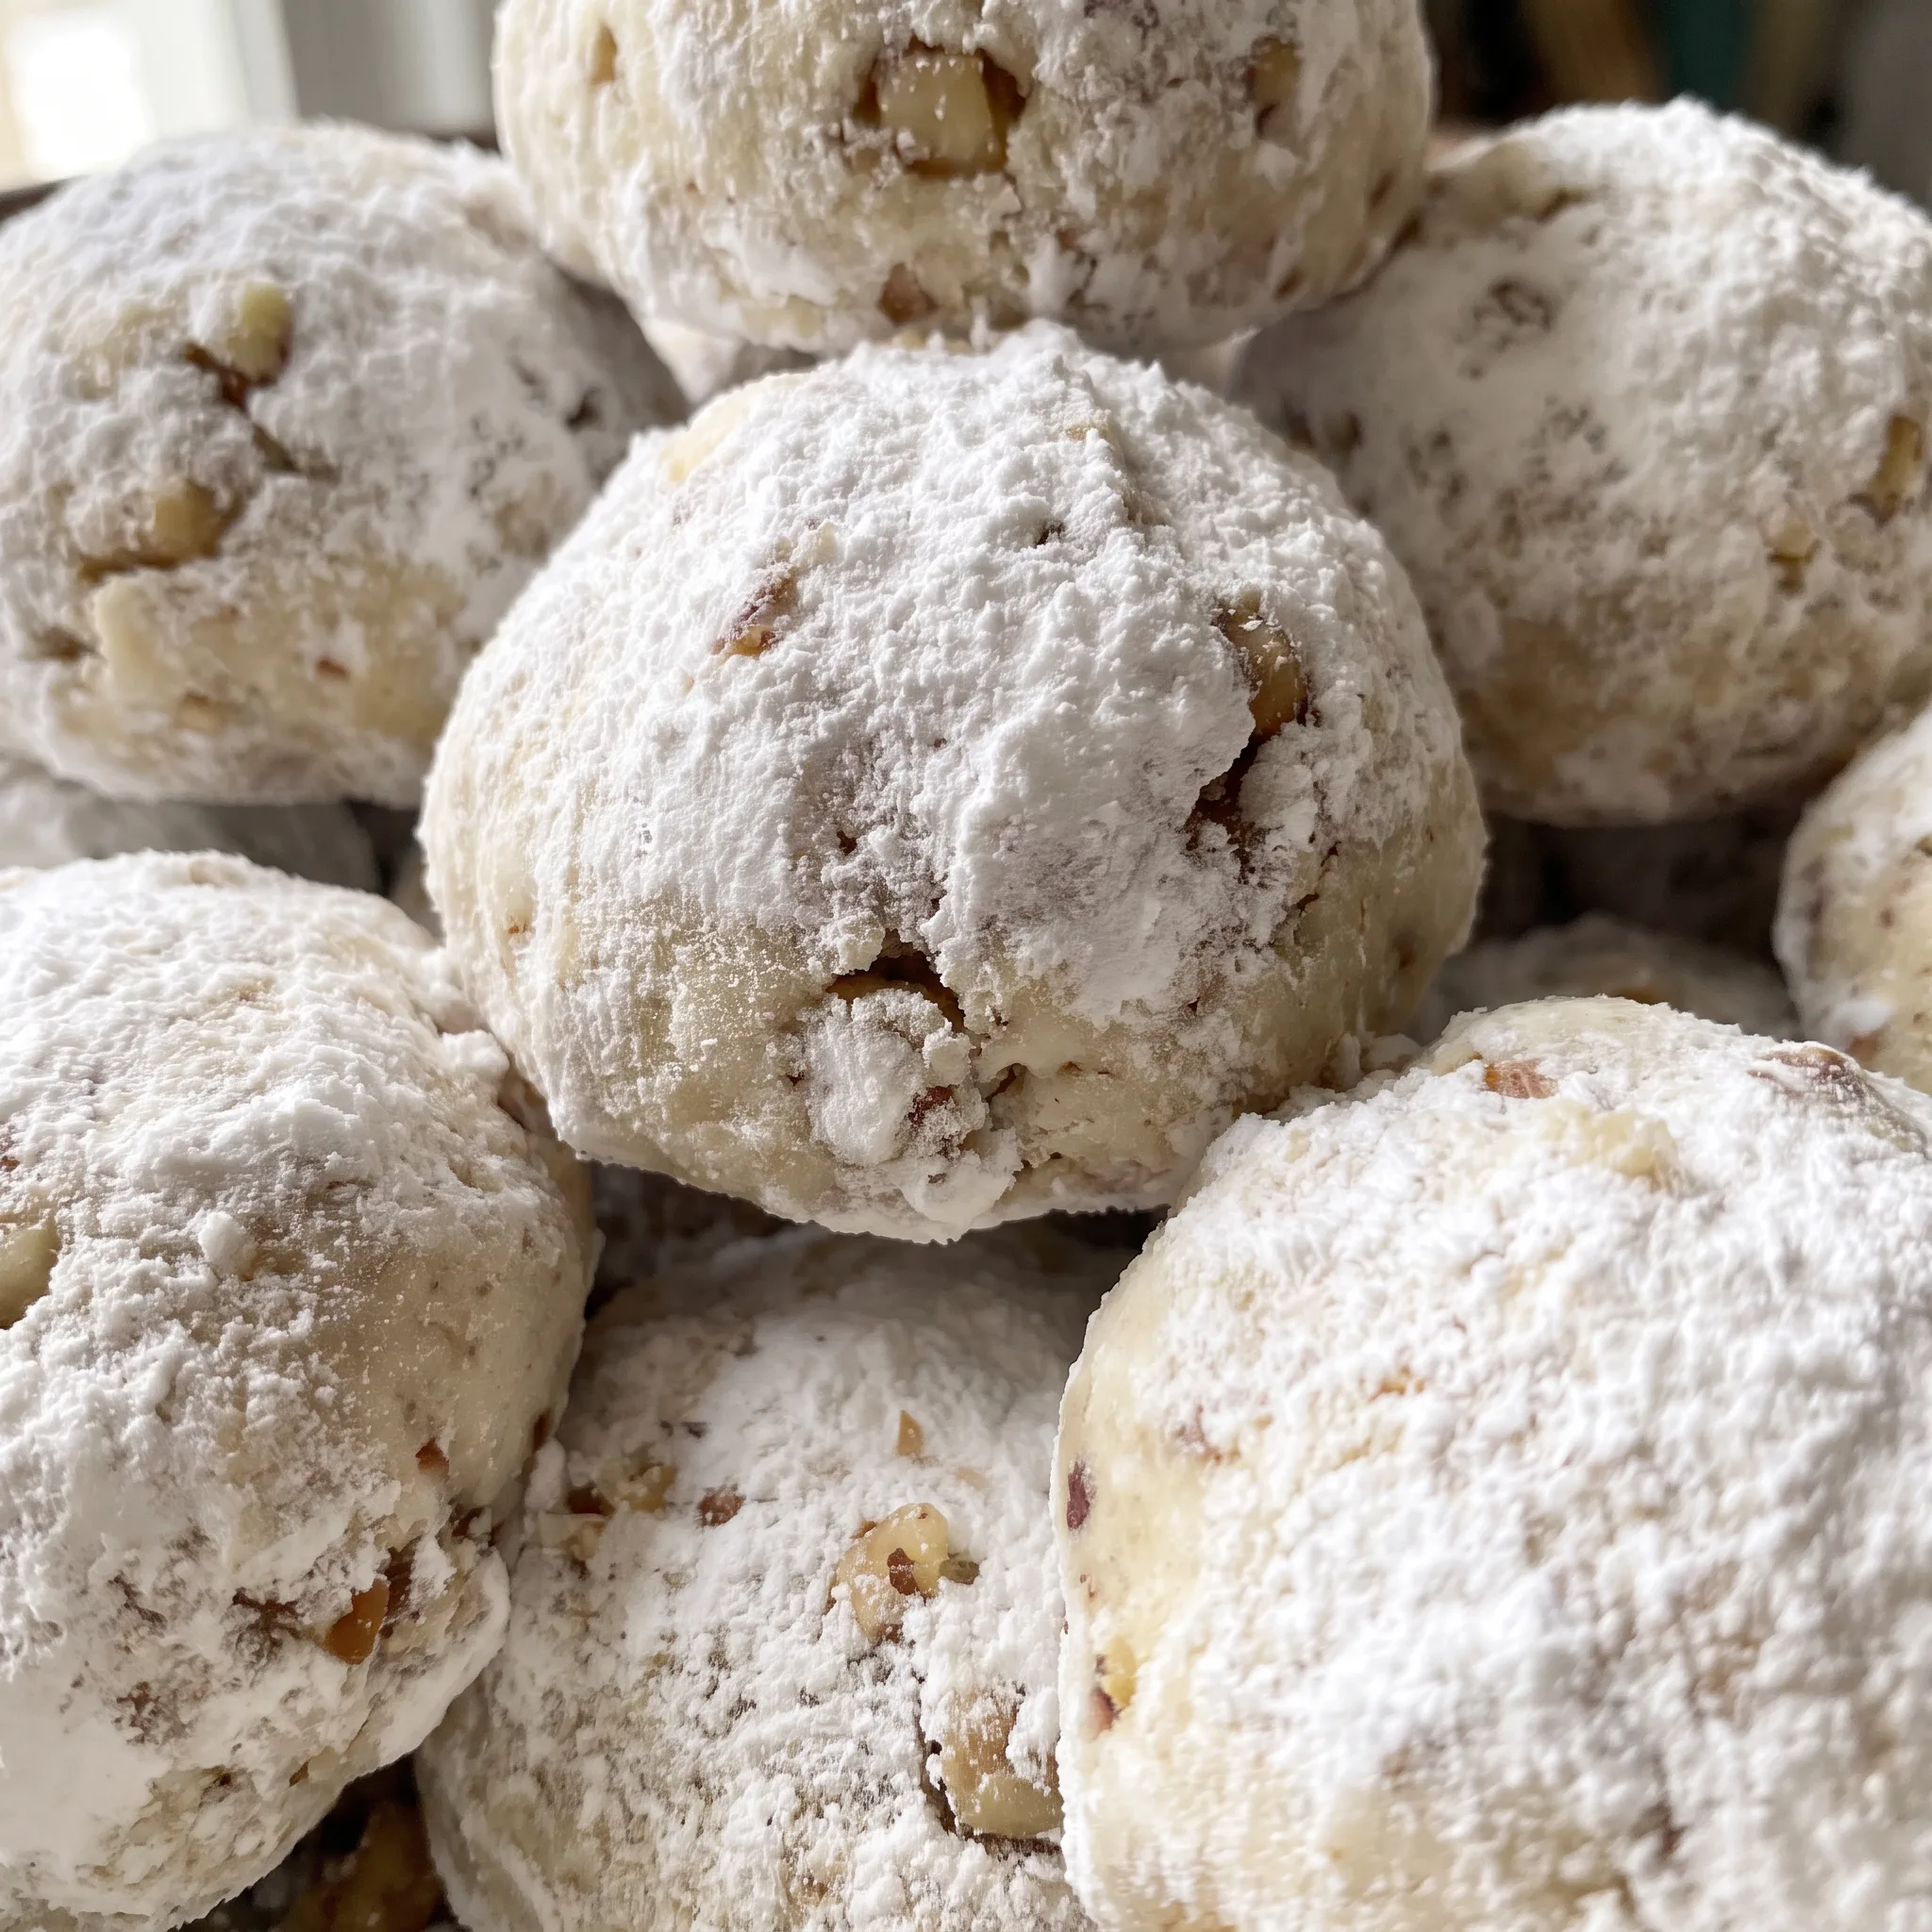
The first roll happens while the cookies are still warm from the oven. Powdered sugar hits that heat and turns glossy, almost like a thin glaze, clinging to every curve and crevice.
That sticky layer becomes the anchor. Once the cookies cool completely, a second roll in powdered sugar builds on top of that base.
The result is a thicker, more durable shell that stays put when you pick one up. A single coating looks fine at first, but it tends to sink into the cookie and fade, leaving bald patches. The double coat gives you that bright, snowy look that holds through stacking and serving.
You can feel the difference in your hand: the second coating feels silky and dry, not tacky. And when you bite in, the sugar shell crackles just slightly before giving way to the tender cookie inside. The extra minute it takes to roll them twice pays off in both looks and texture.
Chilling Hydrates and Prevents Spread
Gluten-free flour blends need time to absorb the liquid in the dough. Skip the chill and you’ll often end up with a gritty, pasty texture that no amount of baking fixes.
As the dough rests, the flour particles drink up the moisture from the butter and any eggs, softening their edges. That hydration turns a sandy mix into a smooth, cohesive dough that handles like clay.
Chilling also firms up the butter. Cold butter holds its shape in the oven, so the cookies bake up thick and domed instead of spreading into flat discs. You want that snowball shape, not a puddle.
The cold dough is also easier to scoop and roll without sticking to your palms. When you pull it from the fridge, it should feel firm but not rock hard. If it’s too stiff, let it sit just a minute or two.
Otherwise, get rolling and watch them keep their height.
The Right Flour Blend Holds Everything Together
Not all gluten-free flours behave the same in a cookie dough. A 1:1 blend contains binders like xanthan gum that mimic the structure wheat gluten normally provides. Without that structure, the cookies crumble before they even hit the pan.
The blend also affects how the dough feels: some alternative flours are thirsty and suck up liquid, leaving a dry, cracked mass. Others are starchy and make the dough greasy.
The recipe calls for a specific 1:1 blend for a reason. When you add the flour, mix just until it disappears into the butter mixture.
Overmixing activates those binders too much, and the dough turns tough or crumbly. Butter coats the flour particles, which helps mask any grittiness from rice or bean flours. That fat also carries flavor and keeps the cookies tender.
The dough should look like soft cookie dough, not sand. If it holds together when you squeeze a handful, you’re on track.
Why Walnut Size and Fold Matter
Chopped walnuts bring more than flavor. Their natural oils add richness that keeps the cookies tender, and their crunch cuts through the powdered sugar coating. But the size of those pieces matters.
If you leave large, jagged chunks, they tear the dough as you shape the balls, creating cracks that lead to breakage. Uniform, pea-sized pieces distribute evenly, so every bite gets a bit of nut without compromising structure. Folding them in gently with a spoon or spatula preserves their shape and keeps the dough light.
You don’t want to crush them into powder. Overworking the dough at this stage can also make the cookies tough.
When you bite into a finished cookie, you should feel a soft, melting crumb give way to a clean, nutty crunch. That contrast is what makes these snowballs worth the effort. If the walnuts are too fine, you lose that textural pop.
So take a minute to check your chop before folding.
Four Ingredients Where the Brand and the Cut Decide the Cookie
1:1 gluten free baking flour: Buy a blend with xanthan gum already in it, since blends without binders leave the dough crumbling before it reaches the pan.
unsalted butter: Room temperature means it dents under a finger but still holds its shape, so it creams smooth instead of turning greasy.
powdered sugar: Check the bag for cornstarch, which keeps the coating dry and prevents it from soaking into the warm cookie surface.
chopped walnuts: Chop them to pea size, since larger jagged pieces tear the dough as you shape the balls and cause cracking.
pure vanilla extract: Real extract, not imitation, because the butter and sugar carry it straight through and a fake one reads thin and sharp.
Judging the Dough at Four Points That Decide the Cookie
When the butter and sugar are beaten enough
Stop mixing when the butter loses its yellow chill and turns pale, and the sugar no longer feels gritty if you rub a bit to the touch. Underbeat it and the dough stays streaky, so some cookies taste flat and others taste sweet. Overbeat it and you whip in air that makes the baked cookies puff and then collapse.
The window is narrow, maybe a minute past creamy.
Reading the dough after the flour goes in
The dough should look like soft cookie dough, not sand or paste. Squeeze a handful: it holds together, but it doesn’t feel greasy or stiff.
If it crumbles, the flour hasn’t hydrated enough, so press it together and let it rest a few minutes. If it feels tacky or slick, you’ve overmixed and the binders are working too hard. That dough bakes up tough and cracks when you shape it.
Telling when the chill has gone far enough
After 30 minutes in the fridge, the dough should feel firm but not rock hard. Press it with a finger: it gives slightly, like cold clay.
If it’s still soft and sticky, it needs more time; rolling will be a mess and the cookies will spread flat. If it’s too stiff to scoop, let it sit on the counter for a minute or two.
Cold butter is what keeps the snowball shape.
Pulling them at just set, before any color
At 8 to 10 minutes, the tops should look dry and matte, with no shine, and the bottoms should be barely golden. Any browning on top means they’ve gone too far and will taste toasted rather than buttery.
If the centers still look wet and shiny, give them another minute. They firm up as they cool, so it’s better to pull them a hair early than late.
Gluten Free Walnut Snowball Cookies
Ingredients
- 1 cup unsalted butter 2 sticks; 227 g, brought to room temperature
- 1/2 cup powdered sugar 58 g, plus additional for coating
- 1/4 tsp salt
- 1 tsp pure vanilla extract
- 2 1/4 cups 1:1 gluten free baking flour 260 g, recommended: King Arthur Flour Measure for Measure or Bob’s Red Mill 1-to-1
- 1/2 cup chopped walnuts
Instructions
- Set oven to 400°F (205°C) and prepare a sheet pan with parchment paper.
- In a large bowl, using a hand mixer or stand mixer fitted with the paddle attachment, beat 1 cup (2 sticks; 227 g) unsalted butter, 1/2 cup (58 g) powdered sugar, and 1/4 tsp salt until creamy.
- Incorporate 1 tsp pure vanilla extract. Add 2 1/4 cups (260 g) 1:1 gluten free baking flour in stages, mixing until fully combined.
- Fold 1/2 cup chopped walnuts into the dough with a spoon or spatula.
- Refrigerate dough until solid, roughly 30 minutes (may be refrigerated overnight).
- Shape dough into 1-inch balls and arrange on ungreased cookie sheets.
- Bake 8-10 minutes, until just set but not browned.
- Let cool on the pan for just a couple of minutes, then roll the warm cookies in powdered sugar and transfer to a rack to cool completely.
- After completely cooled, roll in powdered sugar once more.
Swap Only What the Cookie Can Afford
unsalted butter: Skip it. There is no swap that keeps these cookies intact.
Butter is the only thing holding the dough together and giving it that melt-in-your-mouth texture. Replace it with margarine, coconut oil, or a vegan butter and you will get a greasy, flat cookie that spreads into a puddle.
The flavor also turns hollow without the butter’s richness. If you need dairy-free, look for a different recipe.
powdered sugar: Leave it alone. No other sugar works for the coating or the dough.
The fine texture of powdered sugar is what makes the coating cling and the dough smooth. Granulated sugar will leave you with a gritty coating that slides off, and the dough will be speckled and tough. You could blitz granulated sugar in a blender, but it won’t be as fine and the cookies will suffer.
Stick with powdered sugar.
pure vanilla extract: Almond extract, using half as much. Almond extract is stronger, so start with 1/2 teaspoon. It pairs well with the walnuts and gives a different, nuttier note.
The cookies will still have the same structure. If you use imitation vanilla, the flavor will be thin and sharp, so it’s worth seeking out the real thing.
chopped walnuts: Pecans, chopped to the same pea size. Pecans have a slightly sweeter, softer crunch, but they work just as well. The cookie’s structure stays the same because the pieces are the same size.
You might notice a slightly different flavor, but it’s still. Just make sure to chop them uniformly so they don’t tear the dough.
Tips
- Judge doneness by the tops, not the edges. At 8 to 10 minutes these cookies should look dry and matte across the whole surface, with no shine and no color at the rim. The moment you see even a faint tan ring at the base, they have gone past set. That matters here because the dough is mostly butter and gluten free flour, so the same browning that reads as done in a wheat cookie reads as toasted and dry in this one, and the powdered sugar coating will not hide it. Set a timer for 8 minutes, then check every 30 seconds after that.
Storage, Coating, and How Long They Stay Snowy
The powdered sugar shell is at its best the day you make them, so plan to eat the first batch within a day or two of the second roll. After that, the sugar pulls moisture from the cookie and gradually sinks in, going from a dry, powdery coat to something translucent and faintly damp.
That’s normal, not spoilage. In an airtight container at room temperature, they hold about a week; the texture shifts from crisp-edged to soft and tender throughout as the coating dissolves inward.
If you want the snowy look back, roll cooled cookies in fresh powdered sugar just before serving. For longer storage, freeze the baked, uncoated cookies in a single layer, then bag them, up to 2 months.
Skip freezing after coating: the sugar turns wet and blotchy on thaw. Reheat frozen cookies at 300°F for 5 to 6 minutes, cool, then roll in powdered sugar while barely warm.
Frequently Asked Questions
Can I make the dough ahead of time and bake later?
Yes. The dough can sit in the fridge overnight before you shape and bake, and honestly it handles better after a long rest than after a short one. Cold, firm dough rolls into neat one-inch balls without sticking to your palms, and the flour has had time to drink up the moisture from the butter, so the texture comes out smooth instead of sandy.
Pull it out, scoop, and bake straight from cold. If you want cookies on demand over a couple of days, this is the way to do it.
Why did my gluten free snowball cookies turn out dry and crumbly?
Check your flour blend first. A 1:1 mix without xanthan gum or another binder gives you a dough that never quite holds, and the baked cookies crumble at the first bite. If your blend is fine, look at how the butter and sugar were creamed: underbeaten butter leaves the dough streaky and dry in patches.
A dough that crumbles when you squeeze a handful before baking is telling you it needs a few minutes of rest so the flour can absorb the moisture. Next time, squeeze a small piece; if it holds, you’re set.
How do I keep the powdered sugar from melting or disappearing?
The coating holds best when the cookies are completely cool before that final roll, and when the sugar itself contains cornstarch. Check the bag: cornstarch is what keeps the coating dry rather than soaking straight into the cookie surface. Even done right, the snow fades with time as the sugar pulls moisture from the cookie, so plan to eat them within a day or two of the second roll.
If you want the bright look back, roll cooled cookies in fresh powdered sugar right before serving.
What’s the difference between these and traditional Mexican wedding cookies?
Traditional Mexican wedding cookies are made with wheat flour and often include ground nuts worked into the dough rather than chopped pieces folded through it. The swap to a 1:1 gluten free blend changes the dough’s behavior: the binders in the blend do the job wheat gluten normally handles, and they need that chill to hydrate fully or the texture turns pasty. Chopped walnuts, pea-sized, give you a clean crunch instead of the finer, more uniform crumb you get from grinding them.
Shape, bake, and the double roll in powdered sugar are the same idea either way, just built around a different flour.