Firm butter, not soft, is what stands between you and a tray of flat wafers, and it’s the first call the dough asks you to make. Cocoa powder makes up nearly as much of the dry mix as the flour, and all those particles coat the flour and keep gluten from building, so the dough stays tender but fragile. Push the butter too soft and it gives up before the structure sets.
Press it with a thumb; it should give a little and still hold the dent. Get that right and the peppermint chocolate cookies come out fudgy in the middle, dipped in white chocolate that snaps clean when you bite. The batch runs large, so there’s room to hand some out and still keep a stack for yourself.
Why does the white chocolate coating keep these cookies soft?
Pull one of these cookies from the container three days later and the center is still fudgy, not crumbly. The white chocolate that coats half of each cookie isn’t decoration. It sets into a thin shell that blocks the air from pulling moisture out of the crumb.
The cookies come out of the oven at 8 minutes deliberately underdone, which means they’re still carrying plenty of internal steam and softness. That moisture has to go somewhere if the cookie sits exposed.
The coating holds it in. The crushed peppermint bits on top get the same protection.
They’re sugar based, and sugar pulls water straight out of the air, which turns them tacky and dull within a day if they’re left bare. Under the chocolate shell, they stay dry and crunchy.
The exposed cookie edges, the parts without dip, will stale first. That’s expected.
The dipped half stays tender, and that’s the half you notice.
How does the peppermint show up in two different ways?
Peppermint extract goes into the dough before baking. Once those cookies hit the oven, the sharp volatile edge of the extract cooks off and softens.
What’s left is a mint flavor that’s woven through the chocolate, more of a background hum than a hit. The crushed peppermint bits go on after baking, pressed into the melted white chocolate.
Those stay raw and crunchy, so when you bite down you get a sudden cooling burst that the extract alone can’t give. The two don’t compete.
One is baked in and mellow, the other sits on top and stays bright. If you only used the extract, the mint would taste flat and faint by the time the cookie cooled. If you only used the bits, you’d get crunch without any mint in the crumb itself.
Together they cover both the aroma and the actual taste, and the mint doesn’t disappear halfway through the bite.
What does all that cocoa powder do to the dough?
Cocoa powder makes up nearly as much of the dry mix as the flour does, and it changes how the dough behaves. Cocoa particles don’t dissolve; they coat the flour and limit how much gluten can form.
Less gluten means a tender, almost fragile dough that tears easily and spreads fast in the oven. That’s why the butter stays fairly firm. Soft butter would melt too soon, before the cookies have set, and they’d run into thin, brittle wafers.
Firm butter holds its shape long enough for the structure to lock in. The other safeguard is flattening each scooped ball. A domed ball bakes with a thick center and thin edges, so the middle stays raw while the rim burns.
Pressing them down gives an even thickness from edge to center, and the cookies bake through at the same rate. The result is a soft, fudgy middle instead of a raw pocket.
Why does the white chocolate get streaky or slide off?
White chocolate is mostly cocoa butter, and cocoa butter is fussy. It doesn’t like heat, and it doesn’t like moisture. If the cookies are even slightly warm when they hit the dip, the chocolate picks up that heat and turns greasy, or it thins out and drips off the cookie instead of clinging.
The coating never sets right and looks streaky once it cools. Overheated white chocolate is just as bad.
It thickens in the bowl and turns grainy, and no amount of stirring brings it back. The short chill after dipping matters too. It sets the chocolate quickly so it hardens with a clean snap, not a soft, waxy chew.
Skip that chill and the coating stays tacky for hours. So let the cookies cool completely, keep the chocolate just melted, and give them those few minutes in the fridge.
The payoff is a glossy shell that cracks when you bite it.
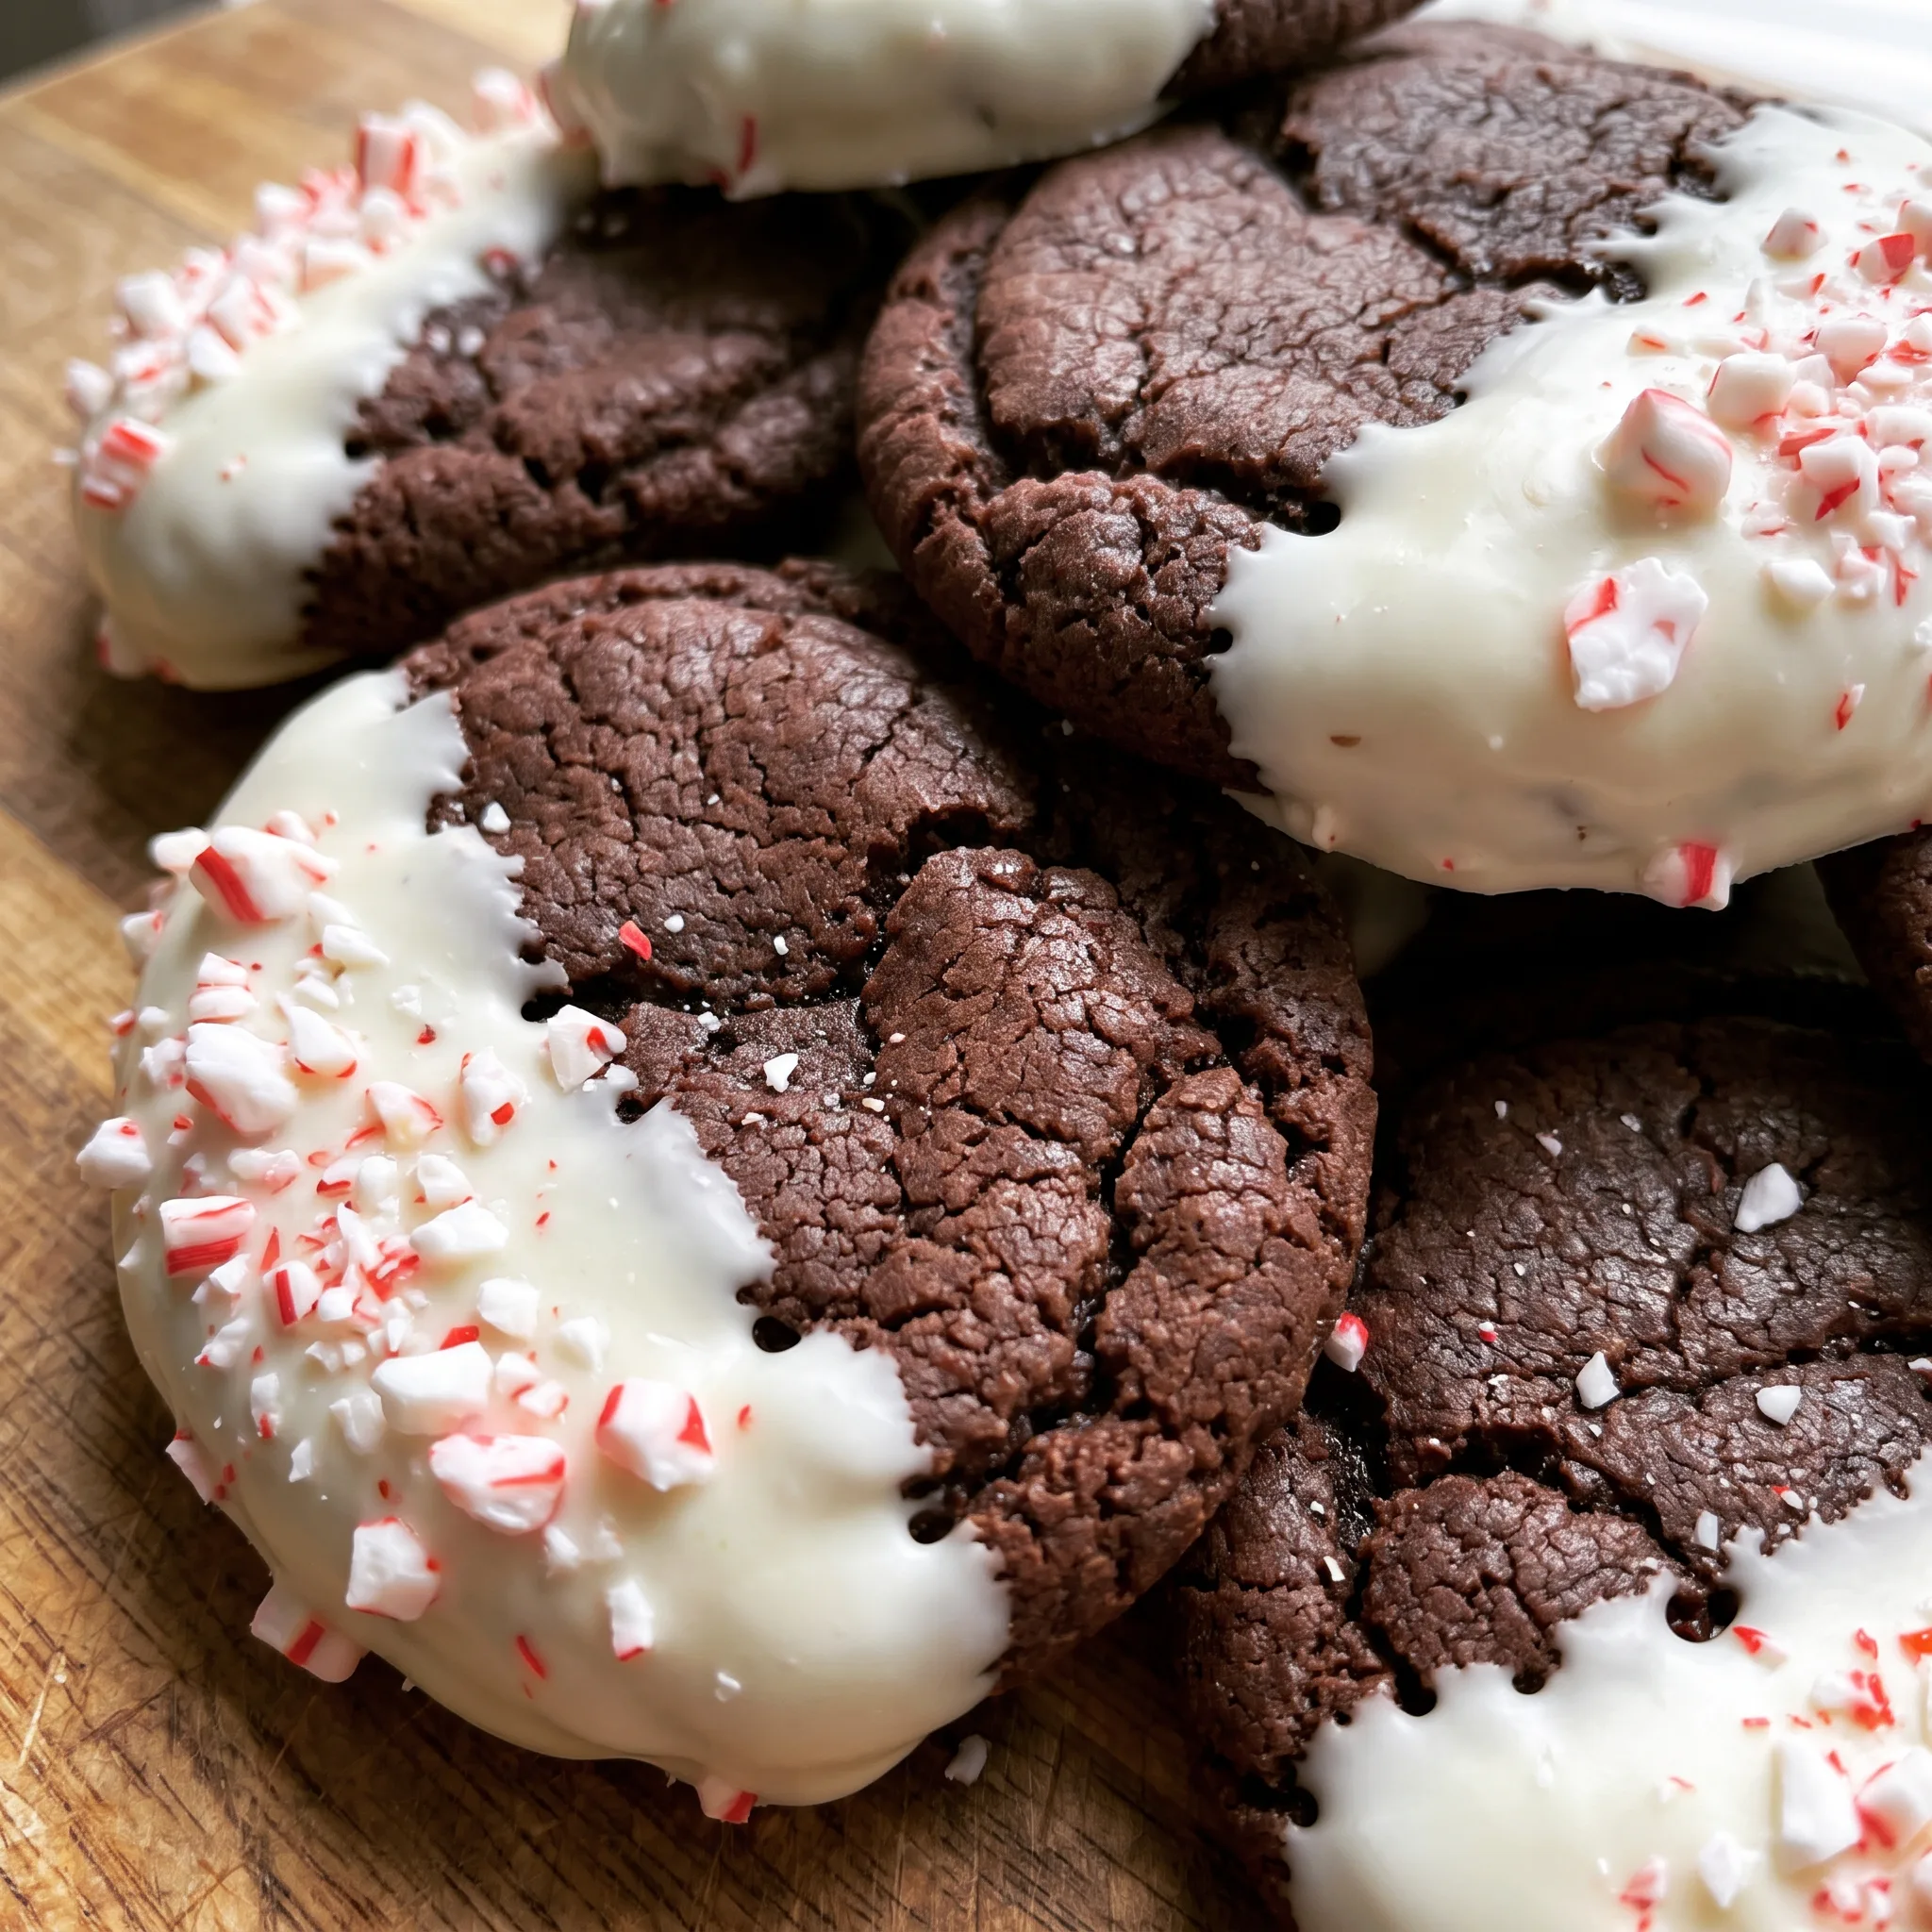
What to buy and prep for these cookies
White chocolate (16 oz): Buy real white chocolate with cocoa butter, not chips or candy melts. The fake stuff sets waxy and dull.
Unsweetened cocoa powder (1 cup): Use natural cocoa, not Dutch-process, because the baking soda needs natural cocoa’s acidity to lift the dough.
Peppermint extract (1 tsp): Make sure it’s peppermint, not spearmint. Spearmint tastes like toothpaste in a chocolate cookie.
Crushed peppermint bits (1/4 cup): Crush them finely so they stick to the chocolate. Big shards fall off and leave bald spots.
Butter (1 cup): It should be firm and cool. If your finger sinks in, it’s too soft and the cookies will spread flat.
Eggs (2 large): Room temperature eggs blend smoother into the creamed butter and sugar. Cold ones can make the batter look curdled.
The moments where these cookies turn on your judgment, not your timer
Reading the butter before you cream it
Butter that’s softened the usual way, dented and squishy, will melt before the cocoa and flour have set, and the cookies spread into thin, brittle wafers. The card says firm. Press it: it should give a little and still hold a thumbprint with effort, cool to the touch.
If it’s greasy or your finger sinks, put it back in the fridge for a few minutes. If it’s rock hard, cut it into cubes and wait ten. This one decides whether the dough holds its shape at all.
Judging the dough by feel, not by the clock
After the flour goes in, stop mixing the moment no dry streaks remain. Overmixed dough turns tough and the cookies bake up cakey instead of fudgy. Then scoop one ball.
It should hold together when you press it and feel like soft clay, not wet sand or stiff putty. If it crumbles, the butter was too cold; let it sit five minutes. If it smears and sticks to your palm, chill the bowl for ten.
The card says chill as needed, and that call is yours.
Pulling them while they still look underdone
At 8 minutes the centers will look glossy, slightly puffed, and set only around the edges. That’s the moment. Wait until they look fully baked in the middle and you’ll pull out dry, crumbly cookies once they cool.
The residual heat on the sheet finishes the job in those first few minutes off the oven. If you’re unsure, take one out a minute early and let it cool on the sheet; if it holds together, the batch is ready.
Cooling the cookies fully before the dip
The card says cool completely, and that’s not a suggestion. A cookie even slightly warm will heat the white chocolate on contact, turning it greasy or making it drip off instead of clinging. Touch the center: it should feel room temperature, no lingering warmth.
If you’re in a hurry, spread them on a rack in a single layer rather than stacking. The dip only works on a cold cookie, and there’s no fixing a streaky coating once it sets.
Keeping the white chocolate just melted
White chocolate scorches easily, and once it turns thick and grainy in the bowl, no amount of stirring brings it back. Melt at 50% power in 30-second bursts, stirring between each. Stop when a few lumps remain and stir until they disappear; the residual heat finishes the job.
If it does seize, you can stir in a teaspoon of neutral oil to loosen it, but the texture won’t be as glossy. Better to underheat than overheat.
White Chocolate Peppermint Chocolate Cookies
Ingredients
- 1 2/3 cups all-purpose flour 237g (scoop and level to measure)
- 1 cup unsweetened cocoa powder 98g (scoop and level to measure)
- 1 tsp baking soda
- 1/2 tsp salt
- 1 cup unsalted butter 226g, softened about halfway (it should be fairly firm still)
- 1 1/4 cups granulated sugar 250g
- 3/4 cup packed light brown sugar 160g
- 2 large eggs
- 2 tsp vanilla extract
- 1 tsp peppermint extract
- 16 oz white chocolate 454g, broken or chopped
- 1/4 cup finely crushed peppermint bits approx (I used the King Leo ones)
Instructions
- Set oven to 350°F (175°C). Prepare baking sheets with silicone liners or parchment paper.
- In a medium mixing bowl, whisk together flour, cocoa powder, baking soda, and salt for 20 seconds. Set aside.
- In the bowl of an electric stand mixer fitted with the paddle attachment, cream together butter, granulated sugar, and brown sugar until well combined.
- Mix in eggs one at a time, then blend in vanilla extract and peppermint extract.
- With mixer on low speed, slowly add the flour mixture and mix just until combined.
- Scoop dough by a rounded tablespoon (about 25 grams each) and shape into balls. If dough is sticky, chill as needed; mine was not sticky.
- Space on cookie sheets 2 inches apart. Flatten cookies slightly.
- Bake one sheet at a time in preheated oven about 8 minutes; cookies should appear slightly under-baked.
- Let cool on baking sheet several minutes, then transfer to a wire rack to cool 5 minutes, then transfer to an airtight container to fully cool.
- Once cookies are cool, melt white chocolate in a microwave-safe bowl on 50% power in 30-second increments, stirring between intervals until melted and smooth.
- Dip half of each cookie in white chocolate, then transfer to parchment paper and sprinkle with peppermint bits. Chill to let chocolate set, about 10 minutes.
- Store cookies in an airtight container.
Notes
Swaps that keep the mint and chocolate honest
Peppermint extract: Mint oil or a different extract like orange or almond. Mint oil is much stronger than extract, so use a quarter teaspoon and taste the dough after mixing. If you want orange or almond, start with a teaspoon and adjust after testing.
Peppermint is the point of these cookies, so any change shifts their identity. Leave the peppermint bits alone; they give the crunch that contrasts the soft cookie.
White chocolate: Dark, milk, or semisweet chocolate. Dark chocolate makes the cookie less sweet and more intense, milk chocolate milder.
All will melt and set similarly, but the flavor balance changes. If you swap, use the same 16 ounces. Don’t use chocolate chips; they’re formulated to hold their shape and won’t coat smoothly.
Unsalted butter: No good dairy-free substitute for the butter in the dough. The dough relies on firm butter to limit spread. Margarine or vegan butter that’s soft will make the cookies run.
If you must avoid dairy, skip the white chocolate coating to eliminate the main dairy source, but the dough itself needs real butter for structure.
All-purpose flour: Gluten-free all-purpose blend. Use a blend that contains xanthan gum and swap it one-for-one by weight. The cookies will be more fragile and may spread more.
Chill the dough if it feels soft. The cocoa powder already limits gluten, so the texture won’t be identical.
How to store and serve these cookies for the best bite
Keep the cookies in an airtight container at room temperature. They’ll stay fudgy for 2 to 3 days. The white chocolate shell can bloom (develop a chalky film) if the container sits in a warm spot, and the peppermint bits will soften as they pull moisture from the air, so plan to eat them within that window.
If you want to get ahead, freeze the undipped cookies for up to 2 months; dip and sprinkle after thawing. To serve, let frozen cookies come to room temperature, then dip in melted white chocolate and chill 10 minutes.
That’s when the peppermint bits are at their crispest. For the best texture, eat them the same day they’re dipped. After a day, the bits lose their snap but the cookie stays tender.
If the coating looks dull, a quick 5-second dip in warm water (don’t get the cookie wet) can restore shine, but it’s not necessary.
Tips
- Scoop all 44 balls before you bake anything. Weighing each at 25 grams means one rounded tablespoon of this dense, cocoa-heavy dough, and doing them in one pass keeps every ball the same size so they bake at the same rate. If you scoop and bake sheet by sheet, the last balls sit out and warm up, and those spread wider than the first batch.
- Flatten each ball to about 1/2 inch thick with the bottom of a flat glass, not your palm. The cocoa powder limits gluten, so the dough is fragile and your hand compresses it unevenly, leaving thick centers and thin edges. A glass gives a uniform disc, and the cookies finish baking through at 8 minutes without a raw pocket in the middle.
White chocolate is mostly cocoa butter, a fat that stays fluid well above room temperature and only sets into a glossy, snappy coating when it cools undisturbed. If a cookie is still warm when it is dipped, that heat transfers into the coating and keeps the fat in a semi-liquid state, so the chocolate looks streaky, feels greasy, and can slump off the cookie instead of gripping it. The recipe’s instruction to cool the cookies completely before dipping is what prevents this heat transfer.

Frequently Asked Questions
Can I make the dough ahead of time and bake later?
You can, and the dough actually behaves better after a night in the fridge. Cold dough scoops into neater balls and holds its shape through the first minutes in the oven, when firm butter matters most.
The catch is that cold dough won’t flatten the same way under your palm. Press each ball down and give it a minute to relax; if the edges crack, let the scoop sit on the sheet while the oven finishes preheating.
Scoop the whole batch onto lined sheets, cover, and refrigerate, then bake straight from cold. Expect the first sheet to need a touch longer than later ones, since the dough warms as it sits out.
Why did my white chocolate coating turn out soft and sticky?
Almost always the cookies were still warm when they hit the dip. Even a faint warmth in the center passes into the chocolate, and what sets should have been a thin shell stays tacky and smears on your fingers. Touch the middle of a cookie before dipping; room temperature, no lingering heat.
The second check is the chocolate itself. If it thinned out in the bowl or got hot enough to turn greasy, it never sets with a clean snap no matter how long you chill it. Let the cookies cool completely and keep the chocolate just barely melted.
How do these peppermint chocolate cookies differ from classic chocolate crinkles?
Crinkles get rolled in powdered sugar before baking, and that sugar cracks into the white fissured top everyone recognizes. These skip that step entirely and get their contrast after the oven instead, from a half dip in white chocolate and a scatter of crushed peppermint. The base is also softer and fudgier than a typical crinkle, which tends to bake up more cakey and domed.
And the mint here comes at you twice, once baked into the crumb and once as cold crunch on top. Same chocolate cookie family, different finish and a sharper bite.
Do I need to chill the dough before baking?
Not necessarily. If the dough scoops into a ball that holds its shape and doesn’t smear across your palm, go straight to the sheets.
Sticky dough is the signal to chill, and the card leaves that call to you. Ten minutes in the fridge firms it enough to handle without making it stiff. Chilling won’t hurt if you want to work ahead, but cold dough presses flatter with more resistance, so give each ball a moment to relax after you flatten it.